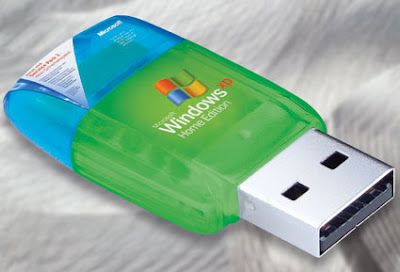
Now as the computer technology is commonly relying on the USB technology, therefore having a bootable USB is also going to become a necessary item in order to install an operating system (like windows) on your computer especially on Laptops or Netbooks. Even in Netbook,bootable USB is considered as an essential option to have.
Bootable USB is also considered an easiest and faster way to install a Windows operating system on any laptop, personal computer or on any Netbook instead of using normal or I must say conventional DVDs for the purpose and it can also be prepared or created with the following very simple steps using Microsoft Windows 7 or Windows Vista:
Bootable USB is also considered an easiest and faster way to install a Windows operating system on any laptop, personal computer or on any Netbook instead of using normal or I must say conventional DVDs for the purpose and it can also be prepared or created with the following very simple steps using Microsoft Windows 7 or Windows Vista:
- First of all, a USB stick should be plug with your computer and 4GB+ USB is preferable to make bootable universal serial bus
- If there is any important or useful data stored on your USB then must clear it or save it on other place as your USB would be formatted in this process
- Now you need to go to DOS mode and should be clicked on Command Prompt for the purpose located at the Accessories Menu in the All Programs tab and can also be accessed through typing CMD in the search field of Start Menu
- Now type DISKPART in Command Prompt and enter
- Then LIST DISK should be typed and enter again
Below mentioned commands that are simple and need not to explain in detail if you have some computer background, must be typed and enter exactly in the sequence provided below if the intention is to create or prepare abootable USB:
- First of all type “SEELCT DISK 1” and hit enter
- Then “CLEAN” should be typed and press enter
- Then “CREATE PARTITION PRIMARY” should be typed and press enter
- Then “ACTIVE” should be typed and press enter
- Then “FORMAT FS=NTFS” should be typed and press enter
- Then “ASSIGN” should be typed and press enter
- Then “EXIT” should be typed and press enter
That’s it, you did it eventually and bootable USB is now in your hand to use as per demand.
Comments
Post a Comment