
Using the Remote Desktop feature, you can connect your home computer (host) from any other remote computer (client) and can access all computer resources (installed programs, data and any network resources). You can run any computer application on the remote computer as you were running actually sitting in front of home computer.
Follow the given steps to configure your computer to connect remote computer:
To use this feature, you will need to be logged into your computer with administrative rights.
To perform this task, first make sure your both computers are connected to the internet.
First you have to configure the host computer that allows the users to connect it remotely. On the host computer, Open Control Panel, and select Classic Menu View, Double Click System Icon, Select Remote Tab, Tick Remote Desktop Option

Now get the IP address of host computer (type the "ipconfig /all" on the command prompt of host computer to find IP address).
Now make a connection on remote or client computer, click on Start button, go to All Programs> Accessories, and Communications, then click on Remote Desktop Connection, option. A Remote Desktop Connection, dialog box will appear.
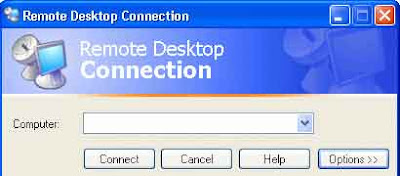
Now make a connection on remote or client computer, click on Start button, go to All Programs> Accessories, and Communications, then click on Remote Desktop Connection, option. A Remote Desktop Connection, dialog box will appear.

Click on Options button for detail configuration, under the General tab, type the IP address of host computer in the Computer box and also type username and password of host computer then click on Connect button to make a connection to remote computer.
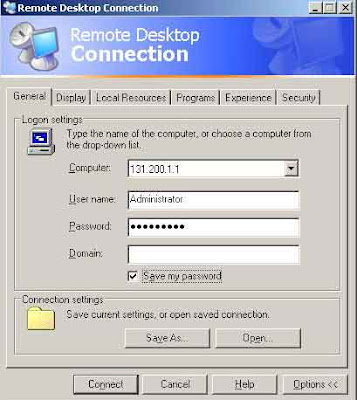

If your username and password is correct then a remote desktop windows will appear.
Comments
Post a Comment